Why Your Home Recordings Sound Amateur: 7 Technical Mistakes and How to Fix Them

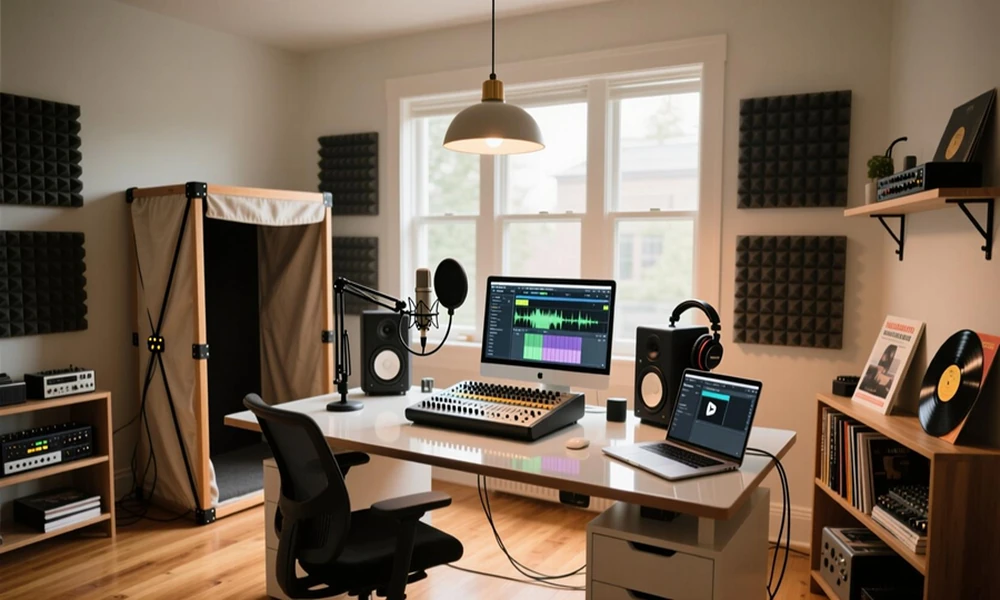
Creating professional-sounding recordings at home is more accessible than ever. With a computer, an audio interface, a microphone, and recording software, musicians and content creators can produce impressive results without relying on an expensive commercial studio.
However, owning good equipment does not automatically guarantee high-quality audio. Many beginners struggle with recordings that sound muddy, harsh, unbalanced, or noticeably different from the music they admire.
The problem often comes down to recording technique rather than equipment quality.
Understanding a few common technical mistakes can dramatically improve your recordings while helping you develop skills that apply to nearly every audio production project.
1. Ignoring the Acoustics of Your Recording Space
One of the most overlooked aspects of home recording is the room itself.
Hard walls, bare floors, windows, and other reflective surfaces can create unwanted echoes and reflections. These sounds become part of the recording, making vocals and instruments difficult to mix.
Even an expensive microphone cannot completely compensate for poor acoustics.
Start by identifying reflective surfaces around your recording position. Rugs, thick curtains, bookshelves, and properly positioned acoustic panels can help manage reflections.
Pay attention to microphone placement, too. Moving your recording setup away from reflective walls or noisy equipment can improve the captured sound.
The goal is not necessarily to create a perfectly treated studio. It is to establish a controlled recording environment where unwanted room sounds do not overpower the performance.
2. Recording at Inconsistent Audio Levels
Recording too loudly or too quietly creates unnecessary problems during editing and mixing.
When an incoming signal exceeds the maximum level supported by a digital recording system, clipping occurs. This creates distortion that can be difficult or impossible to repair completely.
Conversely, recording at unnecessarily low levels may require substantial amplification later, potentially making background noise more noticeable.
The solution is proper gain staging.
Adjust the input gain on your audio interface while monitoring the loudest parts of the performance. Leave enough headroom to accommodate unexpected peaks without reaching the clipping point.
For typical 24-bit recording sessions, there is generally no need to record close to the digital maximum.
Consistent recording levels provide cleaner material and make subsequent mixing decisions easier.
3. Choosing Microphone Positions Without Listening
Microphone placement can influence recorded sound just as much as the microphone itself.
A vocal microphone positioned too close may exaggerate low frequencies through the proximity effect, depending on its polar pattern. Poor positioning can also increase plosive sounds and unwanted breath noise.
For acoustic instruments, small changes in microphone angle or distance can produce noticeable differences in tone.
Instead of relying on one fixed position, experiment.
Record short samples from several positions and compare them using the same monitoring setup. Listen for tonal balance, clarity, room reflections, and unwanted noise.
For vocals, a pop filter can help reduce plosives. For acoustic guitar, pointing a microphone directly toward the sound hole may produce excessive low-frequency energy, so experimenting around the neck-body area can be a useful starting point.
Developing the habit of listening before committing to a recording position can save considerable editing time.
4. Learning Software Without Understanding Audio Engineering
Modern digital audio workstations offer powerful recording, editing, and mixing tools. However, knowing where to click is different from understanding why a particular technique works.
A beginner might learn how to insert an equalizer without understanding frequency masking or use compression without recognizing how attack and release settings affect musical dynamics.
Building a foundation in signal flow, critical listening, microphone techniques, and audio processing makes these tools more useful.
Self-directed experimentation is valuable, but structured education can help connect individual techniques into a complete recording workflow.
For people looking to strengthen these fundamentals, online audio engineering courses can provide a way to study recording, mixing, mastering, and production concepts alongside practical exercises.
Regardless of the learning method, the important step is applying technical knowledge to real recordings and evaluating the results.
5. Overusing EQ, Compression, and Audio Effects
Audio plugins can improve a recording, but excessive processing often introduces new problems.
For example, boosting several frequency ranges with an equalizer may produce a harsh or unnatural sound. Heavy compression can reduce the dynamic character of a performance, while excessive reverb can make individual instruments less distinct.
Before adding another plugin, identify the specific problem you want to solve.
If a vocal sounds muddy, investigate microphone placement and unnecessary low-frequency content before applying aggressive equalization.
When using compression, consider whether the performance actually needs tighter dynamic control.
A useful habit is comparing the processed signal with the original at similar perceived loudness. This helps determine whether the adjustment genuinely improves the sound.
Good mixing depends on purposeful decisions, not the number of effects used.
6. Mixing Without Reliable Monitoring
Your speakers and headphones influence every decision you make during mixing.
Consumer headphones may emphasize bass or treble, while poorly positioned speakers can produce an inaccurate impression of frequency balance.
Room acoustics can further complicate monitoring by exaggerating or reducing certain frequencies at the listening position.
As a result, a mix that sounds balanced in your studio might sound completely different on another playback system.
Use the most reliable monitoring equipment available and become familiar with its characteristics.
Compare your mixes with professionally produced reference tracks in similar musical styles, keeping playback levels reasonably matched.
Listen through multiple systems, including headphones, speakers, and everyday playback devices.
These comparisons can reveal problems that are easy to miss when listening through only one setup.
7. Skipping Editing and Session Organization
A recording session can contain strong performances and still produce disappointing results if editing and organization are neglected.
Unwanted background noise, inconsistent timing, distracting breaths, and poorly managed transitions can reduce the overall quality of a track.
Disorganized sessions also make it harder to locate recordings and revisit earlier decisions.
Before mixing, review each track carefully.
Remove unnecessary noise where appropriate, check edits for clicks, and use short crossfades when needed to create smoother transitions.
Name tracks clearly, organize related instruments, and maintain a consistent folder structure for project files.
Save multiple project versions and back up important sessions to separate storage.
A disciplined workflow allows you to focus on creative decisions instead of searching for missing files or correcting avoidable technical mistakes.
Conclusion
Better home recordings rarely depend on purchasing the most expensive equipment. They come from understanding how sound behaves, capturing performances carefully, and making informed production decisions.
Improving room acoustics, controlling recording levels, experimenting with microphone placement, and developing critical listening skills can make a meaningful difference.
Equally important are thoughtful processing, reliable monitoring, and organized editing practices.
Treat every recording session as an opportunity to evaluate one aspect of your technique. Small improvements, repeated consistently, can help you build a more dependable workflow and achieve recordings that translate well beyond your home studio.